(Old dog here, trying to learn a new trick. After first post froze, Plan B is typing in Microsoft Word. Lets see if I can figure out how to do this.)
Okay, this is probably more than you wanted to know, but here goes.
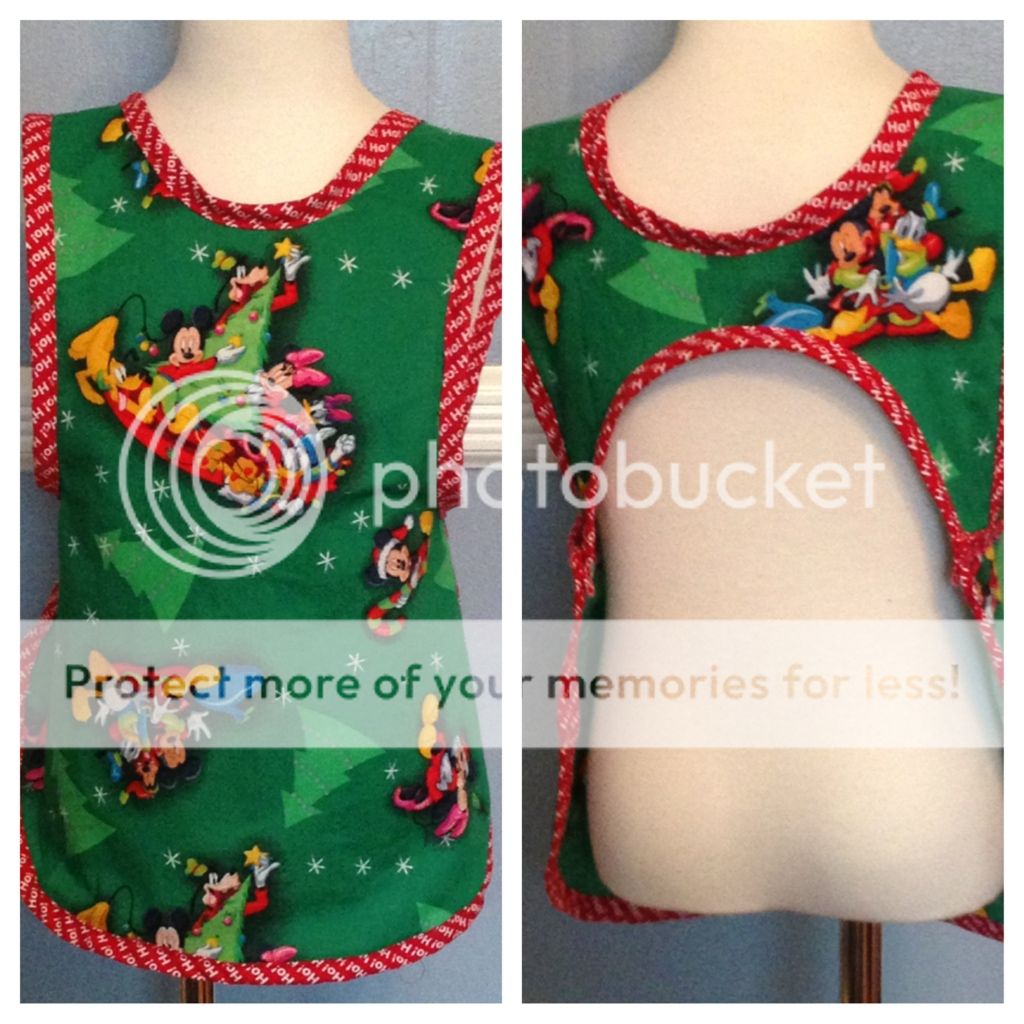
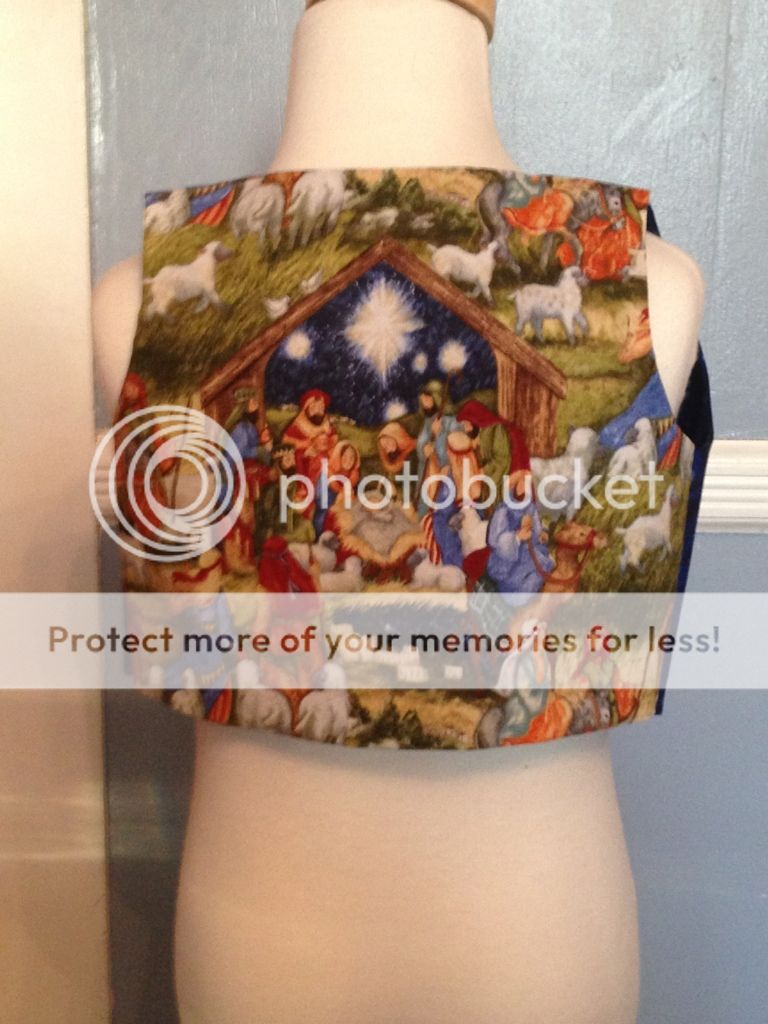
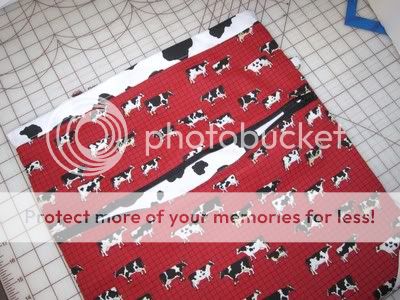
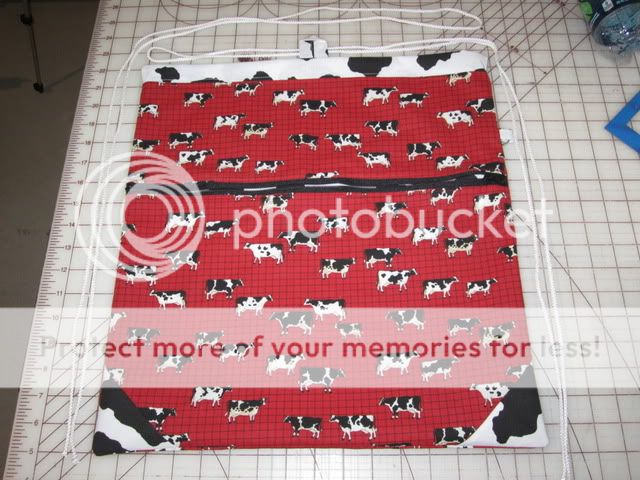
I don't have a pattern, I based mine off of a Disney one I had. Basically 17" wide and 18" tall.
Four tips:
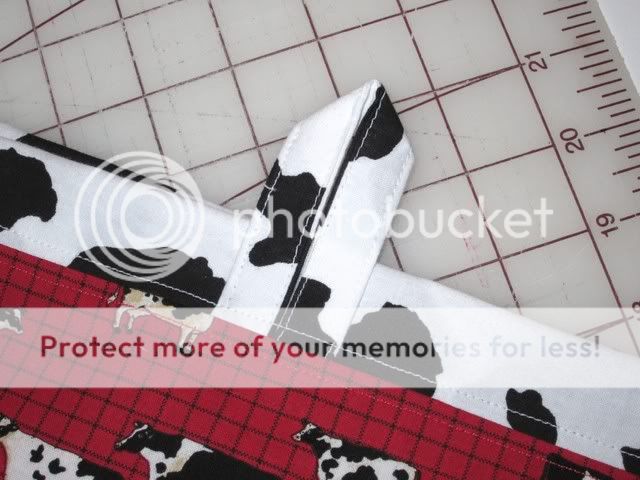
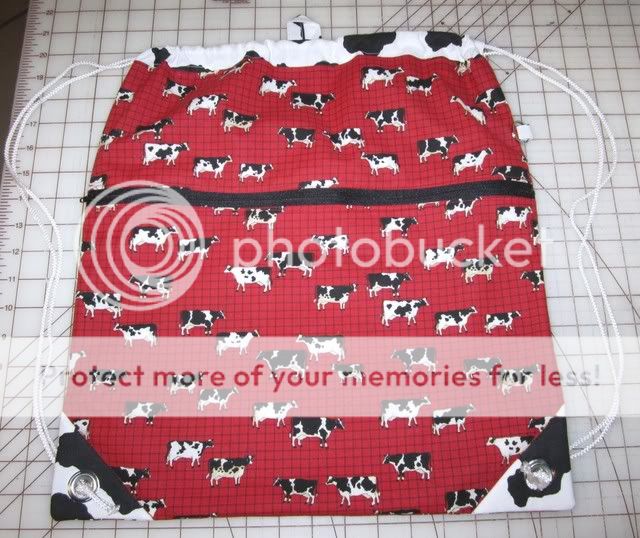
1. Put a loop on it to make it easy to hang up. I don't think I'd hang it if it were really heavy, but otherwise it's convenient to have.
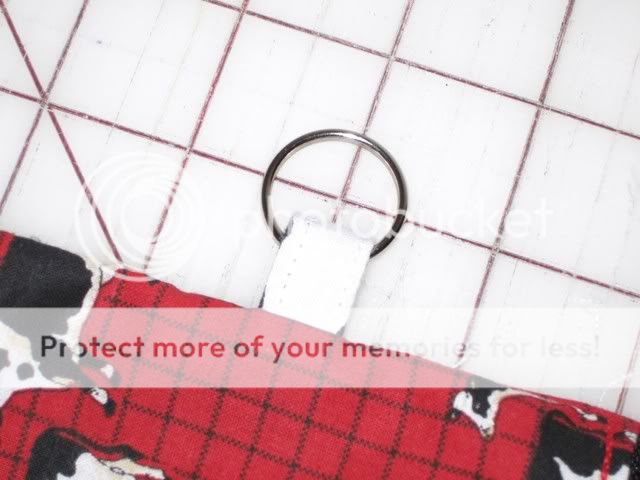
2. Put a ring on the side, better yet, one of each side. I had a hand sanitizer bottle hanging from my bag for our last trip -- very convenient.
(The bags I made for the Big Give had the Mickey head rings and I made little tags with their initials.)
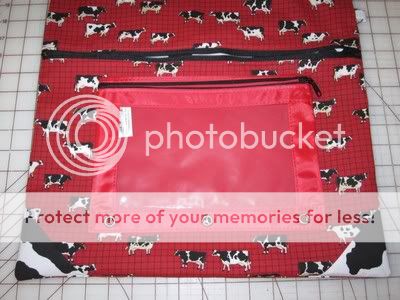
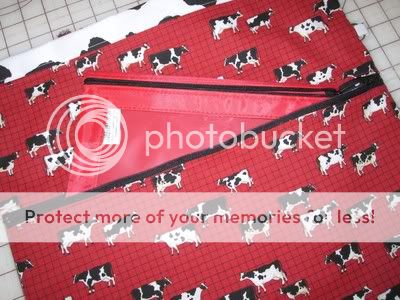
3. Include a zippered pocket.
And, then get a see through pencil case to put in it for your little stuff. (I should add that I don't carry a purse when I'm traveling. I have a "vacation wallet" that I carry in my front pocket, and then I put other purse stuff in the pencil case -- tissues, phone, mini first aid kit, pen, etc. It makes it so easy to pull the pencil case out and see everything.) In the main bag part I put a folded up sweatshirt, poncho, umbrella, etc. Can you tell I've been to Disney a few times during cold, rainy weather!
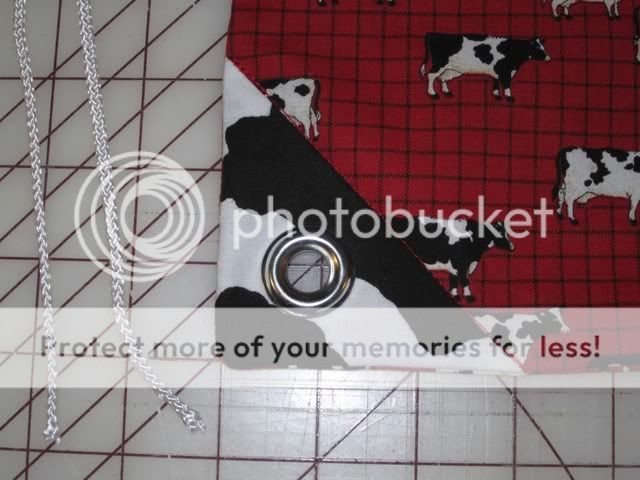
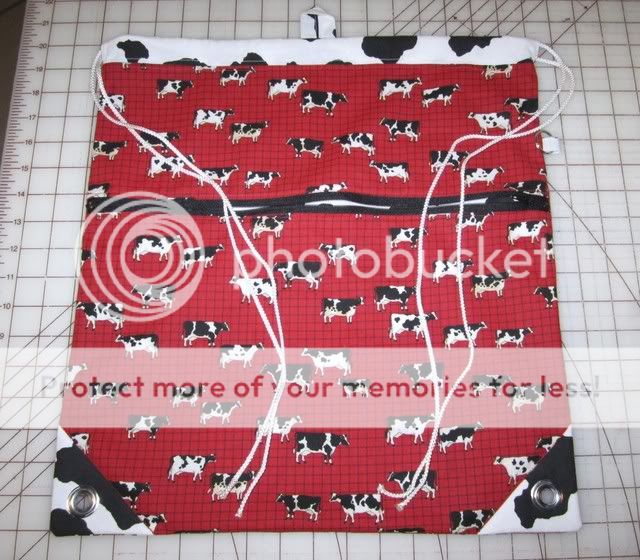
4. After putting in the grommet I like to sew off the corner so theres less stress on the grommet.
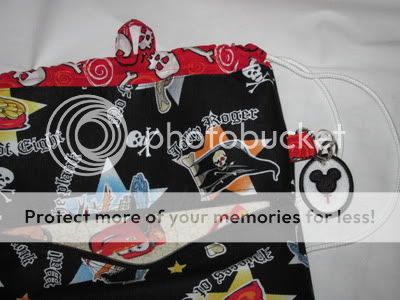
Okay, I think your question was about how to do the strings.
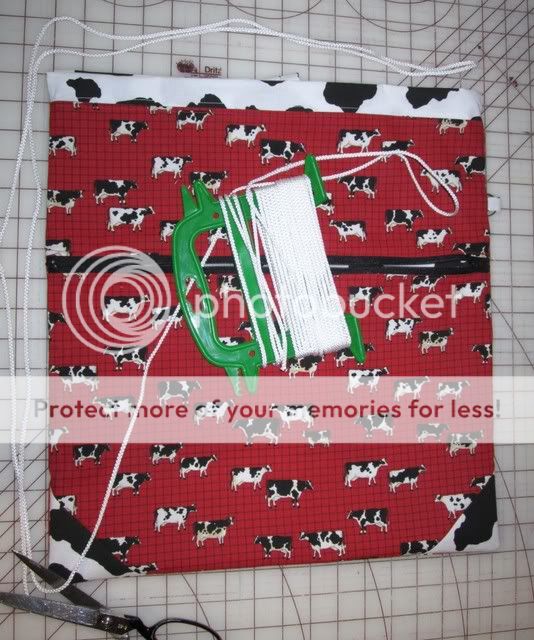
Youll need two strings. To determine how long to make them, double the string over and measure roughly the length and width. (see photo)
Youll need two
One goes in and out the left side and the other goes in and out the right side.
Insert each pair through a grommet and tie.
Voila. The world's best traveling companion. I love how since it's lightweight it can be easily folded up and put away, but when pressed into service holds a fair amount of stuff.
Your turn to make one.

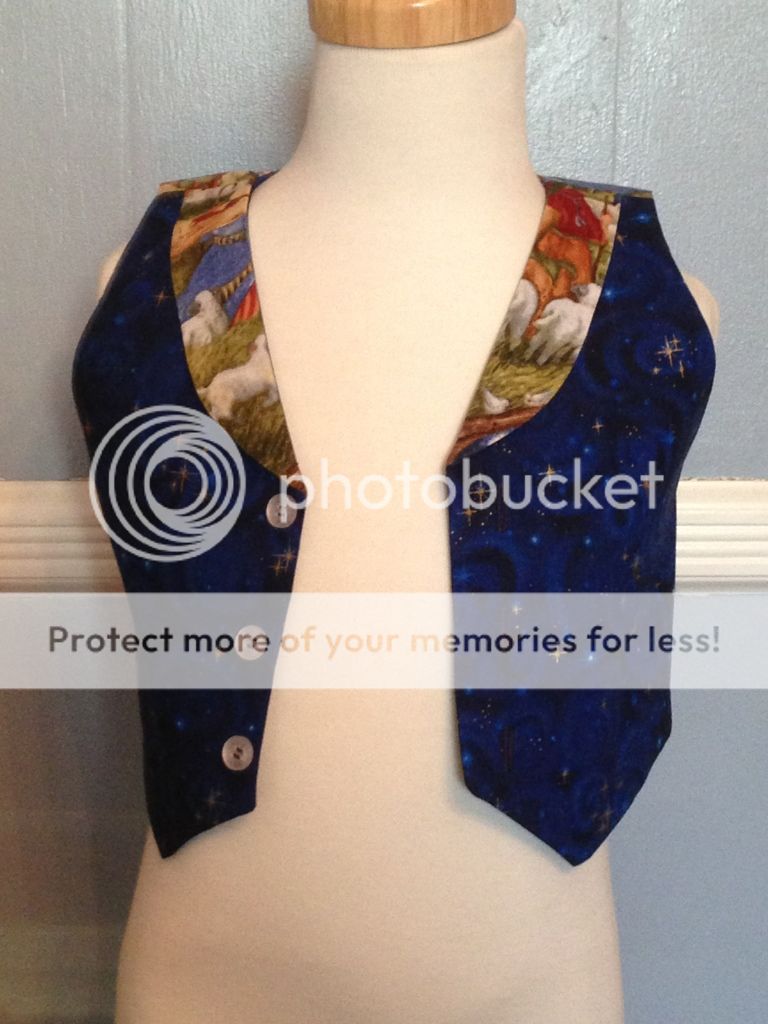
). They both have a Disney theme too!


") And of course there are three parties this weekend, christmas baking and getting the house in order. Oh, and packing. Have to pack sometime don't I?
And of course there are three parties this weekend, christmas baking and getting the house in order. Oh, and packing. Have to pack sometime don't I? 


 HOLY MOLY that's a TON of stuff to have sewn!
  And I thought I was busy!

